Unlocking Sparkle: A Practical Guide to the PW 2 Procreate Brush Glitter Set
Digital art has evolved from simple sketches to complex, textured masterpieces, and nothing adds a finishing touch quite like the shimmer of real glitter. For artists working on iPads, the PW 2 Procreate Brush - Glitter Brushes set offers a streamlined way to introduce this dimension without the mess of physical media. However, diving into digital texturing requires more than just downloading a file; it demands an understanding of how these tools interact with your canvas and workflow. Whether you are a seasoned illustrator, a small business owner creating product mockups, or a hobbyist exploring lettering, avoiding common pitfalls can save you hours of frustration and ensure your final output looks professional rather than pixelated.
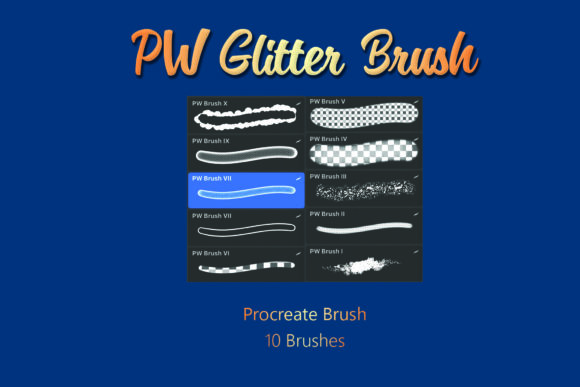
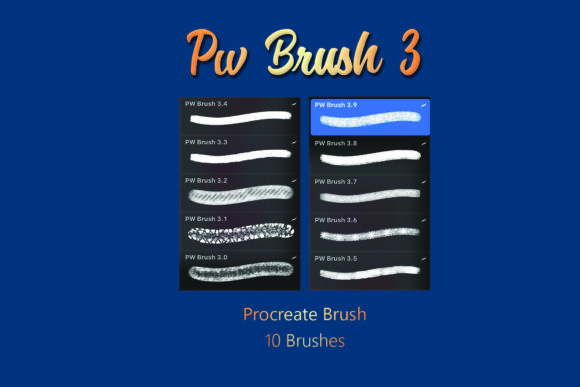
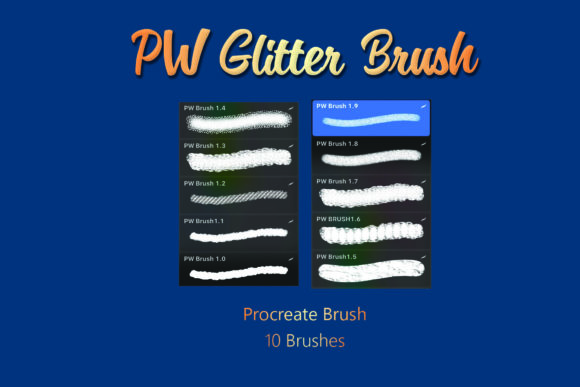
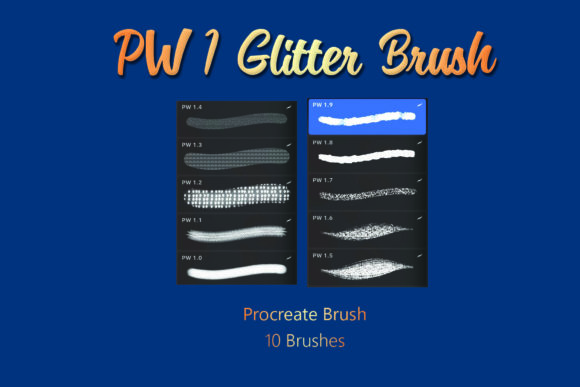
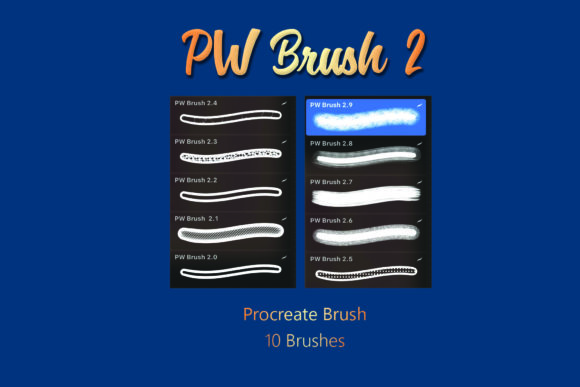
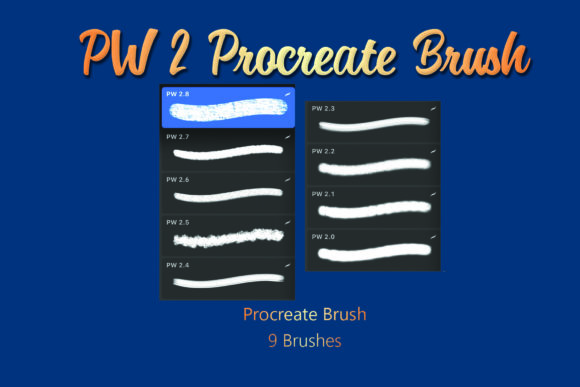
The core appeal of this specific collection lies in its simplicity and focus. The package includes a single .brushset file containing nine distinct glitter brushes, all designed specifically for the Procreate app on iOS. While the concept seems straightforward, many users overlook critical details regarding installation, compatibility, and application techniques. By addressing these areas proactively, you can maximize the value of this digital product and elevate the quality of your creative projects.
Understanding Compatibility and Installation Pitfalls
The most frequent hurdle users face isn't artistic; it's technical. A significant number of buyers attempt to use these brushes on devices or software where they simply will not function. It is crucial to remember that the PW 2 Procreate Brush - Glitter Brushes are exclusive to the Procreate application on iPadOS. They are not compatible with Procreate Pocket (the iPhone version), Android tablets, desktop software like Photoshop, or web-based design tools. Purchasing this digital product with the expectation of cross-platform use is a common misunderstanding that leads to immediate dissatisfaction.
Furthermore, the installation process often trips up even experienced users. The product is delivered as a .ZIP file. A recurring mistake is attempting to import the zipped folder directly into Procreate. The app cannot read compressed archives. You must first locate the downloaded file in your Files app, tap it to extract the contents, and reveal the actual .brushset file inside. Only then should you tap that specific file to trigger the import. Skipping this extraction step results in error messages and the false assumption that the product is defective. Taking those extra ten seconds to unzip the file ensures a smooth transition from download to creation.
Avoiding the "Over-Glittering" Trap
Once installed, the temptation to use every brush on every layer is strong, especially when the textures look so vibrant in the preview images. However, one of the quickest ways to degrade the quality of your artwork is overusing texture. When glitter is applied too heavily or across too large an area, it can create visual noise that distracts from the main subject. This is particularly relevant for marketers and entrepreneurs using these brushes for social media graphics or product branding; clarity is key, and excessive sparkle can make text unreadable or logos appear cluttered.
A better approach is to treat glitter as an accent rather than a base. Use the nine included brushes selectively to highlight specific elements, such as the rim of a lettering piece, the reflection on a jewelry illustration, or the focal point of a portrait. Think of these brushes like salt in cooking—a little enhances the flavor, but too much ruins the dish. By varying the opacity and size of the brush strokes, you can create depth and realism. For instance, using a lighter hand with a smaller brush tip can simulate fine dust, while a heavier press with a larger tip mimics chunky confetti. This variation adds sophistication to your work and prevents the "flat" look that often plagues amateur digital texturing.
Mastering Layer Blending and Color Interaction
Another area where users often stumble is ignoring layer blending modes. Many beginners apply glitter brushes on a standard "Normal" layer, which can result in the sparkles looking pasted on top of the artwork rather than integrated into it. This disconnect breaks the illusion of reality. To achieve a natural look, you need to experiment with Procreate's blending options. Modes like Add, Screen, or Overlay often allow the glitter to interact with the colors beneath it, creating a luminous effect that feels part of the lighting environment.
Additionally, consider the color context. Glitter reflects light, meaning it isn't just one static color. If you are illustrating a red apple, the glitter highlights shouldn't necessarily be pure white; tinting the brush color slightly toward pink or warm gold can make the reflection feel more authentic. A common oversight is leaving the brush color at default black or white regardless of the scene. Taking the time to sample colors from your existing artwork and applying them to the glitter brush creates a cohesive palette. This attention to detail separates professional-grade illustrations from casual doodles and significantly improves the perceived value of your work, whether you are selling prints or building a portfolio.
Evaluating Resolution and Output Quality
For professionals preparing files for print or high-resolution displays, understanding the limitations of raster brushes is vital. Unlike vector shapes, brush strokes in Procreate are made of pixels. If you create a small sketch and then scale it up significantly, your glitter textures may become blurry or blocky. This issue often arises when creators design on a small canvas to save on processing power, only to realize later that the resolution is insufficient for their intended use, such as a large poster or a high-DPI website banner.
To avoid this, always start your project on a canvas with dimensions and DPI (dots per inch) appropriate for your final output. If you plan to print, aim for at least 300 DPI. The PW 2 Procreate Brush - Glitter Brushes are designed to perform well within standard Procreate resolutions, but they cannot magically add detail to an undersized canvas. Before committing to a final render, zoom in to 100% to inspect the texture quality. If the glitter appears grainy, you may need to adjust your canvas size or refine your brush settings, such as streamline or jitter, to ensure crisp edges. This proactive check prevents costly reworks and ensures your digital assets remain versatile across different media formats.
Making an Informed Decision
Before purchasing or utilizing any digital asset, including this glitter set, it is wise to assess your current workflow. Ask yourself if your current projects would genuinely benefit from textured overlays. If your style relies on flat design or minimalism, these brushes might sit unused. However, if you are looking to add warmth, luxury, or festive elements to your creations, this nine-brush collection provides a focused toolkit without the bloat of massive, overwhelming packs. Remember, this is a digital product; there are no physical shipments, and refunds are typically not offered once the file is accessed, so ensuring your device compatibility and artistic needs align beforehand is essential.
Ultimately, tools like the PW 2 Procreate Brush - Glitter Brushes are enhancers, not replacements for fundamental artistic skill. They offer a shortcut to complex textures, but the artist's eye determines the final result. By respecting the technical requirements, applying textures with restraint, and understanding how light and layers interact, you can transform simple digital strokes into dazzling visual statements. Whether you are designing invitations, illustrating children's books, or crafting Instagram stories, mastering these nuances ensures that your sparkle shines exactly where it should.